 By Arthur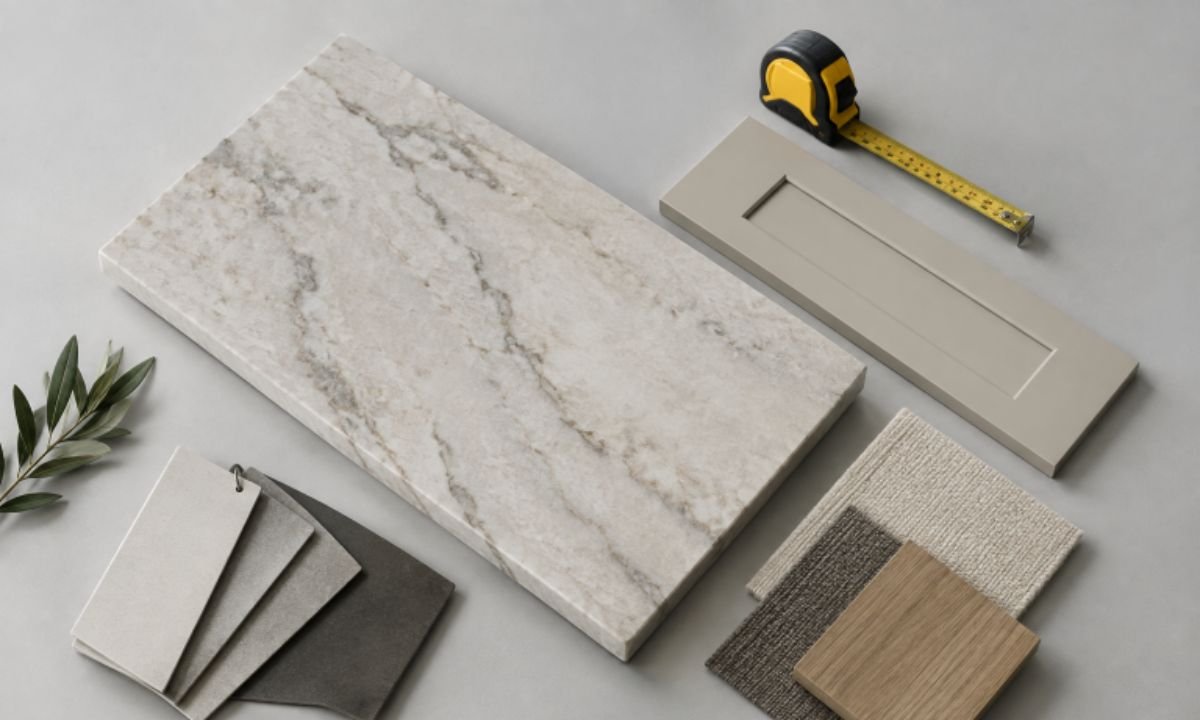
- Choose materials based on daily use, upkeep, appearance, and budget.
- Inspect the full slab when possible, especially when it has strong movement or veining.
- Review seams, edges, cutouts, overhangs, and support before fabrication begins.
- Use final field measurements rather than relying only on cabinet drawings.
- Prepare the room and inspect the installation before the crew leaves.
A successful countertop project involves more than picking a color from a sample rack. Material performance, cabinet condition, measurements, slab layout, cutouts, support, and installation access all affect the finished surface. Homeowners considering a custom granite countertops installation can make clearer decisions by treating each stage as part of one connected plan. Granite Countertops serve as working surfaces in kitchens, bathrooms, bars, laundry rooms, and other areas, so the right choice should reflect how the room will actually be used. A dramatic slab may look impressive, but its layout, seams, edges, and care requirements deserve the same attention as its appearance.
A countertop is a functional building component, not simply a finish selection. The broad range of materials, built-in features, and installation approaches described in this overview of countertop construction helps explain why planning matters. Even an attractive, durable slab can create problems if cabinets are uneven, seams are poorly located, or appliance specifications arrive too late.
Before shopping, measure the room and note walls, corners, doors, windows, outlets, sink locations, cooktops, ranges, refrigerators, dishwashers, and plumbing connections. Confirm that cabinets are securely installed, level enough for the planned surface, and capable of supporting their weight. Walls are often out of square, so final templates should reflect actual site conditions rather than rough drawings. For kitchens and other high-use spaces, materials like granite are one of several surface categories worth evaluating alongside the room’s cooking habits, cleaning routine, and visual goals.
Each material brings different strengths and tradeoffs. Instead of relying on a small sample alone, compare surfaces based on the household’s practical needs.
- Natural stone: Offers distinctive variation and can require material-specific sealing and care.
- Engineered quartz: Provides a consistent manufactured appearance and is commonly chosen for low-porosity performance.
- Porcelain: Is available in thin and thick slab formats, with varied patterns and finishes.
- Solid surface: Can provide inconspicuous joints and integrated-looking details in some applications.
- Other options: Wood, laminate, metal, concrete, and recycled-content materials may suit specialized design or use requirements.
Ask about heat exposure, scratch resistance, staining, porosity, repairs, and cleaning instructions. The best surface is the one that fits the room’s real workload, not just the showroom display.
Natural stone can vary substantially in tone, veining, mineral patterns, and movement. When a design depends on a bold feature, viewing the actual slab helps prevent surprises. Bring cabinet, flooring, paint, backsplash, and hardware samples to compare colors under realistic lighting. Before cutting, review how each countertop section will be placed on the slab. Layout affects waste, seam placement, vein direction, edge details, backsplash alignment, and the appearance of a large island. For example, an island with a prominent diagonal vein may need a specific orientation so the pattern reads intentionally from the main viewing angle.
Seams are sometimes necessary due to slab dimensions, room geometry, access limitations, or the need to move finished pieces safely. Ask where each seam will sit, whether it can be kept away from sink or cooktop cutouts, how visible it may be, and whether a directional pattern will align across it. A digital layout or marked slab plan provides an opportunity to discuss these decisions before fabrication is irreversible.
Edge profiles such as eased, bullnose, bevel, ogee, and mitered styles change both the visual character and the feel of a countertop. Discuss the profile in relation to cabinet style, thickness, and cleaning preferences. Seating overhangs at islands, desks, and bars may need brackets, legs, panels, or other support, so confirm support requirements before installation day. Provide exact specifications for sinks, faucets, soap dispensers, cooktops, pop-up outlets, and wall-mounted fixtures. Undermount, top-mount, and farmhouse sinks have different fabrication and installation needs. Product model numbers and manufacturer cut sheets are more reliable than memory when determining cutout dimensions and faucet-hole locations.
Templating is the stage when field conditions are checked for final fabrication. Digital measuring tools may capture curves, corners, walls, and openings, but cabinets, appliances, and sink details should be ready first. Fabrication generally includes final measurement, layout review, cutting, edge shaping, finishing, quality inspection, and delivery preparation. Before installation, clear cabinets and counters, protect nearby floors and appliances, and verify the path from the delivery vehicle to the room. Consider narrow doors, stairs, elevators, and parking restrictions. Keep children and pets away from the work zone, and coordinate plumbing, electrical, and appliance connections around the installation schedule.
Before the installation crew leaves, check that sections sit properly, seams are aligned and clean, edges feel consistent, overhangs are even, and cutouts match the intended fixtures. Inspect cabinets, walls, and adjacent finishes for damage. Report concerns promptly and keep written notes about agreed corrections. Care instructions vary by material and finish. Use a soft cloth, mild cleaner, and the product-specific guidance supplied for the surface. Cutting boards, trivets, and coasters can help protect many countertop materials, but sealing schedules and repair methods should be based on the actual material rather than general assumptions.
A complete quote may include square footage, slab quantity, edge work, cutouts, seams, backsplashes, delivery, removal of existing surfaces, and related plumbing or electrical work. Compare written quotes with the same scope, then ask how changes, remnants, repairs, and unused material are handled.
Current kitchen coverage has highlighted continuous counter splashes, in which the countertop material extends up the wall as a backsplash. As 2026 kitchen trend coverage describes, this approach can create a more unified visual field. It also requires careful planning because strong veining, full-height sections, and visible joins make slab layout especially important.
- Which exact material, finish, and thickness are included?
- Can the actual slab be reviewed before fabrication?
- Where will seams, cutouts, and supports be located?
- What must be completed before templating and installation?
- What care, sealing, repair, and warranty terms apply?
Planning a custom stone countertop is easier when every decision is connected to the next. Careful material selection, accurate measurements, thoughtful layout, clear appliance specifications, proper support, and a final inspection can reduce avoidable surprises and help create a surface that works well for years. Homeowners should also consider the room’s daily use, available space, edge details, sink placement, backsplash, and how the countertop will work with surrounding cabinets and finishes. Discussing these details early can help identify potential installation challenges before fabrication begins. Proper care and routine cleaning after installation can also help maintain the stone’s appearance and condition. By taking time to plan each stage and confirm important details before installation, homeowners can create a countertop that combines practical performance with a finish that suits the overall space.