The charm of winter is often best experienced right at home, with a backyard transformed into a recreational wonderland. Building a personal ice rink brings endless joy and activity for families, friends, and neighbors during the cold months. Whether you dream of teaching little ones to skate, hosting friendly hockey matches, or simply gliding under the stars, crafting a backyard rink is more achievable than you might think. For those exploring creative ways to enjoy winter at home, a home ice rink delivers lasting fun and memorable moments without the crowds of public arenas.
Setting up your own rink involves more than filling water and hoping for freezing temperatures. With attention to planning and thoughtful preparation, you’ll ensure a smooth, safe, and resilient skating surface throughout the winter season. This comprehensive guide will walk you through every essential step, from selecting a location to daily maintenance, making it easy to bring your backyard rink dream to life.
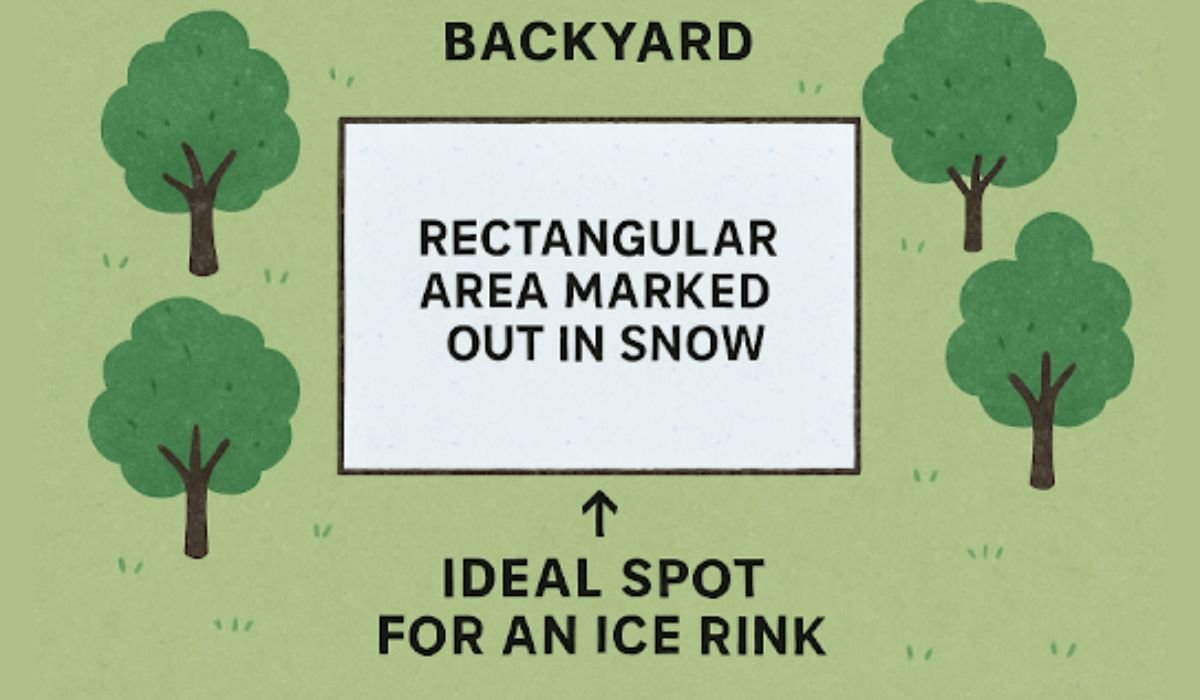
Choosing where to place your ice rink is one of the most important decisions in the process. Select a flat, open area in your yard this not only makes building and maintenance easier, but it also ensures consistent ice thickness and stability. Avoid spots with large slopes, tree roots, shrubs, or overhanging branches that can drip water or debris onto the ice, as these elements can compromise rink quality and safety.
Take note of sun exposure; south-facing sections may receive more warmth, potentially causing uneven melting. Consult local zoning or homeowner association guidelines if necessary, as some neighborhoods have specific rules regarding temporary structures or projects in the yard. Research from The Times Union suggests that choosing the right location can save you countless hours in upkeep.
Shopping for your backyard rink is straightforward with these essentials:
- Sturdy wooden boards (2×6″) or PVC pipes to form the rink perimeter
- Thick, UV-resistant, white plastic liner
- Reinforcement stakes and metal brackets
- Standard garden hose for filling and resurfacing
The white liner reflects sunlight, minimizing the risk of premature melting and helping maintain a strong, even layer of ice. Avoid using tarps or colored plastics, which can absorb heat and lead to rapid melting or cracking. Many hardware stores offer pre-bundled rink kits during winter, simplifying your shopping list.
Begin assembling your frame in your selected location. Arrange the wooden boards or PVC pipes in a rectangle or oval, ensuring that each corner is flush and securely in place. Use metal brackets to connect the corners, then drive stakes into the ground at intervals of every few feet to reinforce the structure. The frame must be sturdy enough to withstand the pressure exerted by both water and ice. Double-check for gaps or areas where water might leak once the addition is complete.
The height of the boards should be sufficient to allow at least 3-4 inches of water across the entire rink. Slope compensation is important—build up sides with additional boards as needed to keep the surface level and the liner well-supported.
Installing the liner is a critical step that demands attention to detail. On a windless day, spread out the plastic liner smoothly inside the frame, leaving excess to hang over all edges. The liner should completely cover the bottom and sides of the frame, creating a “bowl” effect that securely contains the water.
Secure the excess liner to the frame with staples or clips, but avoid puncturing the liner below the water line. Try not to walk on the liner, as small stones or debris can tear it, leading to leaks. A smooth, intact liner provides the perfect surface for water and, eventually, glassy ice.
Modern home rink builders often use heavy-duty liners that last multiple seasons.
Wait until the local forecast predicts several days of steady, sub-freezing temperatures—ideally, temperatures should remain below 20°F (-6°C). Begin filling your frame with water, introducing slow, even layers of 3-4 inches to allow gradual freezing. Filling in one stage may risk leaks or overwhelm the liner, especially if the yard isn’t perfectly level.
If your rink is particularly large, fill over two or three days so each layer can freeze solid before adding the next. This approach produces stronger, more resilient ice, preventing bulging or tearing at the frame’s sides.
After filling, allow the water to freeze undisturbed for at least 48 hours. The ice must reach a minimum thickness of 4 inches before anyone skates. Patience is key—rushing skating can crack fragile, just-formed ice.
Regular snow removal is vital; snow acts as an insulator and can prevent the surface beneath from freezing fully or smoothly. After each use or snowfall, use a wide snow shovel or push broom to clear the surface.
For smooth skating, resurface the ice by flooding it with a thin layer of warm water. This “recoats” the surface, filling in skate marks and cracks. Dedicated resurfacers or simple homemade tools made from PVC pipes can help. Consistent resurfacing ensures the rink stays glassy and safer for everyone.
Safety remains a top priority with any home project. Always confirm that the ice is at least 4 inches thick before skating—it should comfortably hold the weight of several people. Regularly check for thin spots, cracks, or pooling water, especially after rapid temperature changes.
Supervise children at all times and keep the rink well-illuminated if you plan to use it during the evening. Avoid letting pets onto the rink, as their claws can damage the ice or liner. Keep sharp tools, rocks, and other debris away from the skating area.
Consider setting up simple perimeter fencing or lights to create clear rink boundaries, particularly if your rink is near driveways or walkways.
Building your backyard ice rink is a deeply rewarding winter project, ideal for creating cherished memories and celebrating the season outdoors. With careful planning, the right materials, and continued maintenance, your rink can last through the winter, offering endless hours of enjoyment. Embrace the cold with open arms and turn your home into a haven for ice skaters of all ages.